If you’re looking to attach wire mesh to a brick wall, you’re in luck! We’ve created a comprehensive guide that will show you how to do it easily and safely. Did you know that wire mesh is a great way to add an extra layer of security to your home or business? With our guide, you’ll be able to install it quickly and efficiently.
Our guide will walk you through the step-by-step process of attaching wire mesh to a brick wall. You’ll learn what materials you need, how to prepare the wall, and exactly how to install the mesh. With our help, you’ll be able to complete the project in no time.
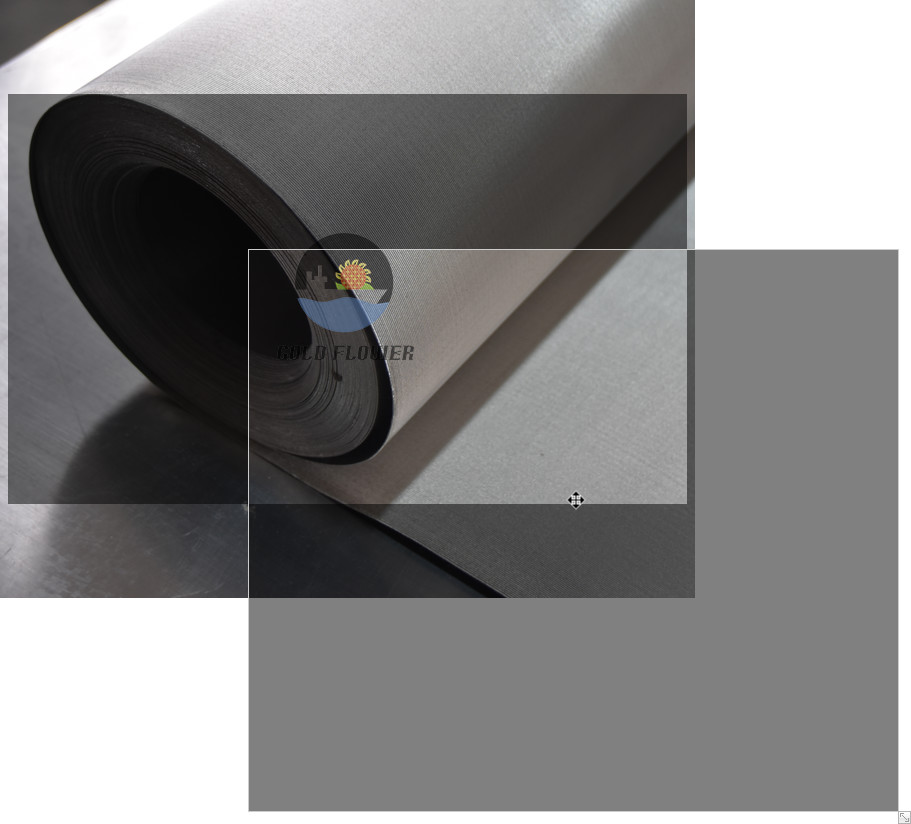
Grain industry filter Woven Mesh
How to attach wire mesh
● Measure the mesh and cut it
● Hold the mesh in the desired position
● Mark around the mesh and drill
● Fix the mesh with screws
● Final check
What is wire mesh?

A wire mesh is a type of woven or welded netting made of thin metal wires, commonly used to attach to a brick wall for various purposes such as creating a trellis for climbing plants or a barrier for animals or objects. Masonry anchors or screws are used to securely attach the wire mesh to the brick wall.
There are various types of wire meshes available, depending on the intended use of the mesh. Some of the common types include:
1. Welded wire mesh – made by welding wires at their intersections to create a strong and durable mesh. It’s often used in construction, concrete reinforcement, and fencing.

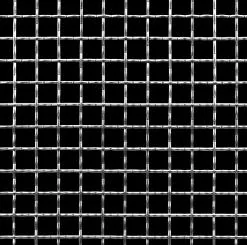
2. Woven wire mesh – made by weaving wires together to form a grid pattern. It’s often used in filtration, insect screens, and decorative applications.

3. Expanded metal mesh – made by cutting and stretching a sheet of metal to create diamond-shaped openings. It’s often used in grating, walkways, and industrial applications.

4. Perforated metal mesh – made by punching holes in a sheet of metal. It’s often used in acoustics, ventilation, and filtration.

Wire mesh finds use in various industrial and consumer applications, including:
1. Fencing and security – wire mesh is often used in fencing to create a barrier and prevent trespassing. It’s also used in security screens to protect windows and doors from intrusion.
2. Filtration – wire mesh is used in various filtration applications, including air filters, water filters, and oil filters.
3. Concrete reinforcement – welded wire mesh is used in concrete reinforcement to add strength and durability to concrete structures.
4. Insect screens – woven wire mesh is used in insect screens to prevent insects from entering buildings while allowing for air flow.
5. Decorative applications – wire mesh is used in various decorative applications, including metal curtains, room dividers, and wall cladding.
Preparation in advance
Before beginning any DIY project, it’s important to ensure that you have all the necessary tools and equipment to complete the task. When attaching wire mesh to a brick wall, it’s crucial to have the right equipment to ensure that the mesh is properly secured and stays in place. Here’s a list of the necessary items and their specifications:
| Equipment | Importance |
| Wire mesh | Provides a surface for climbing plants and adds aesthetic appeal to the wall |
| Screws | Secures the wire mesh to the brick wall |
| Wire cutters | Cuts the wire mesh to size |
| Tape measure | Measures the length of the wire mesh to fit the wall |
| Drill | Used to make holes in the brick wall for the screws |
| Hammer or masonry nails | Alternative method to secure the wire mesh to the wall |
| Screwdriver | Tightens the screws into the wall |
| Ladder | Allows you to reach high areas of the wall |
| Safety goggles | Protects your eyes from debris and dust |
| Gloves | Protects your hands while handling the wire mesh and tools |
How to attach wire mesh?
Attaching wire mesh to a brick wall is a simple DIY project that can be done in a few easy steps. Here’s a step-by-step guide to help you attach wire mesh to a brick wall:

Step 1: Measure the mesh and cut it
Measure the area of the wall where you want to attach the wire mesh. Then, cut the wire mesh to the desired size using wire cutters. It’s important to make sure that the wire mesh is slightly smaller than the area you want to cover so that it fits snugly.
Step 2: Hold the mesh in the desired position
Hold the wire mesh in the desired position on the brick wall. You can use a ladder to reach higher areas of the wall. Make sure the mesh is level and flush against the wall.
Step 3: Mark around the mesh and drill
Use a marker to mark around the edge of the wire mesh where you want to attach it to the wall. Then, use a drill with a masonry bit to drill holes in the brick wall where you’ve marked. The size of the drill bit should be slightly smaller than the screws you’ll be using.
Step 4: Fix the mesh with screws
Place the wire mesh over the holes that you’ve drilled in the wall. Then, use masonry screws to fix the wire mesh to the wall. Make sure the screws are tight enough to secure the wire mesh to the wall.
Step 5: Final check
Check the wire mesh to ensure that it’s securely attached to the wall. Walk around the wall and gently pull on the wire mesh to ensure that it’s properly fixed. If the wire mesh moves, tighten the screws a bit more.
Conclusion
In a world where security threats are a constant concern, it is essential to safeguard your property with the most reliable means possible. Wire mesh has proven to be a cost-effective and efficient way of providing an additional layer of protection to your infrastructure, be it residential or commercial. Our comprehensive guide offers step-by-step instructions that make the installation process quick, easy, and stress-free. With wire mesh in place, you can sleep soundly, knowing that your property is secure from unwanted intrusions.


